 Manufacturers began to use cameras in computers, laptops, tablets, phones. For proper interaction and the fulfillment of functions in full, it is necessary to connect the device using the instructions. At the first application, it is worthwhile to carefully study the operation manual and find out additional information about the selected model. We will talk about this in detail in our article.
First, check the connection of the device to the laptop. Most often, the causes of possible malfunctions are improper pairing of equipment. To check the connection and activate the camera if necessary, use the following algorithm:
- Connect the laptop to a power source, start it using normal mode and go to the desktop.
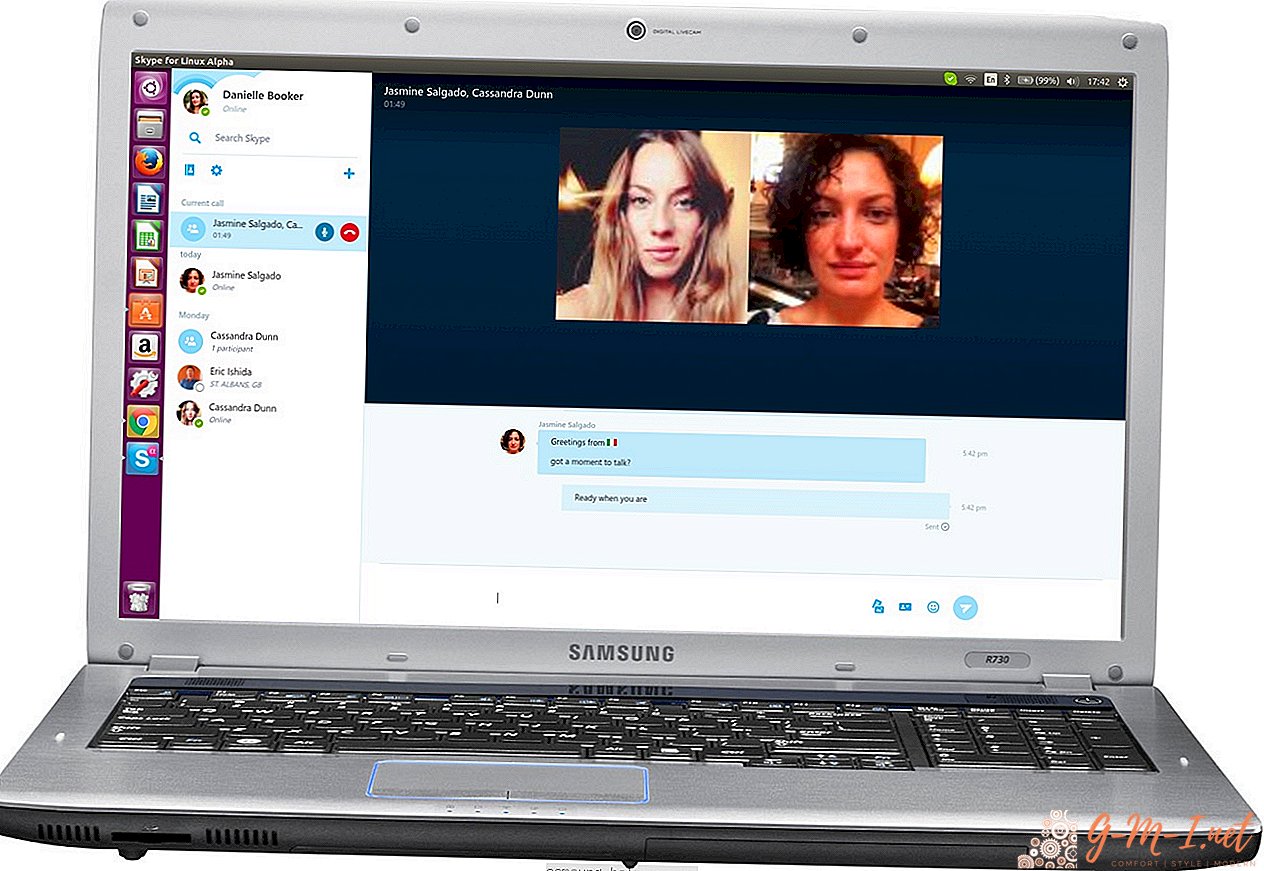
- The easiest way is to check the camera when starting standard applications with the ability to video calls. If you have the appropriate equipment, you will see an image on the screen. However, this option cannot give a 100% guarantee, since the application may also have crashes that prevent the image from being displayed.
- Another method of verification is the use of special services. The most convenient will be the use of webcammictest.com. After entering the official website, click on the "Check" button to automatically diagnose the system.
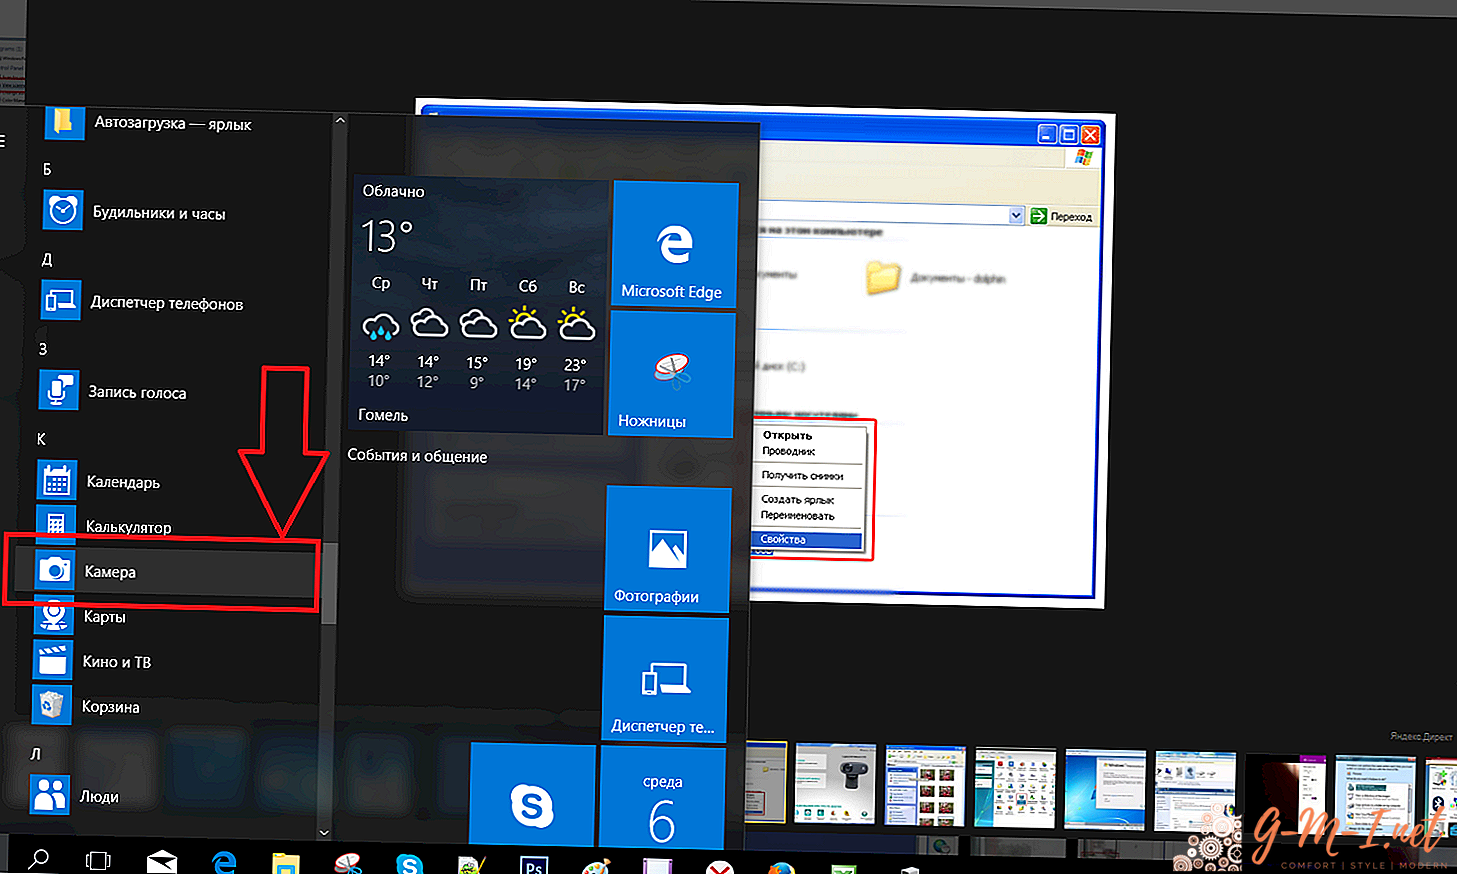
- If this does not help, go to the Start menu, where you can select the desired item with the settings and operating parameters of the connected equipment. Open the "Devices for image processing" section through the "Device Manager", find the name of the necessary equipment in this category, and also check the connection and the presence of drivers.

Choose one of the presented options to check the availability and correct operation of the system. If during diagnostics the program gives an error or a warning about the absence of a connected device, you should make the correct connection and further configuration.
Important! Do not forget to activate the camera with the start button on the main panel of the case, sometimes the reason for disconnecting may be this.
In order to correctly configure the equipment, you must use the appropriate instructions and a step-by-step plan for all actions. Depending on the version of Windows, the main interface and key sections of the basic menu may vary significantly.
The developers have modernized the appearance, added new features and changed various work parameters, so for convenience we will talk about connection methods in different versions of the operating system.
When working on devices with Windows operating systems of earlier versions, users should not have any questions and difficulties, since they have a convenient interface and ease of management. We will talk about the features of working in new formats.
First, let's figure out the connection on devices with Windows 8 and 10 versions. In this case, the inclusion can be performed in the following ways:
- Connect the equipment to the power source, perform the main login. Use the Fn key in combination with the hotkey for activating the camera. Specify in advance the list of possible combinations and the purpose of the hot keys on the laptop.
- You can enter the Start menu and go to "Image Processing Devices". Double-click on the item with the desired camera to open a dialog box. Among the main parameters and information, find the button labeled "Enable" and click on it. If the image freezes, you can perform the action again.
- Also in modern models there is the ability to quickly call the Run dialog box using the Win key or a combination of Win + R. Here the user can call up the necessary settings item, including device parameters for displaying graphic information.

In version 10 of Windows, developers have significantly changed the interface, so it may be difficult to find the necessary parameters. However, for convenience, you can use the plan described above and look for similar section names - the path to the parameters will not be any different.
Important! The camera will not activate and will not perform its functions until the user launches a special program for its operation.
If you wish, you can use an external camera to display and transfer videos. The process of connecting to a laptop will be similar to the option described above. To do this, follow these steps:
- Buy a suitable device model for connecting to the system.
- Use the USB wires or appropriate adapters to connect the equipment to the correct connectors on your computer.
- After that, the system will issue an automatic notification about the connection of new equipment.
- If necessary, adjust the basic characteristics and adjust the functioning parameters according to personal preferences.
Save all changes, reload the equipment to get started.
Leave Your Comment